 Audience: All Users
 Purpose
In this article, we will provide a general guide for how to manually create and submit company card transactions. Keep in mind, each company set-up varies. If needed, check with your company Admin to understand how your company is configured.
Transactions can be created from the desktop of mobile browser by accessing app.neo1.com (unable to create/code transactions from the receipt capture app)
Tip: Refer to this guide if your Company has connected a corporate card program
and receives a daily file feed of all transactions.
Step 1: Select Expense (from the top menu bar) then select Expense requests or, choose Justify from the Dashboard timeline
The homepage dashboard will display the total count of transactions sitting in your justify queue, ready to be reconciled and submitted to your Supervisor for review/ approval.
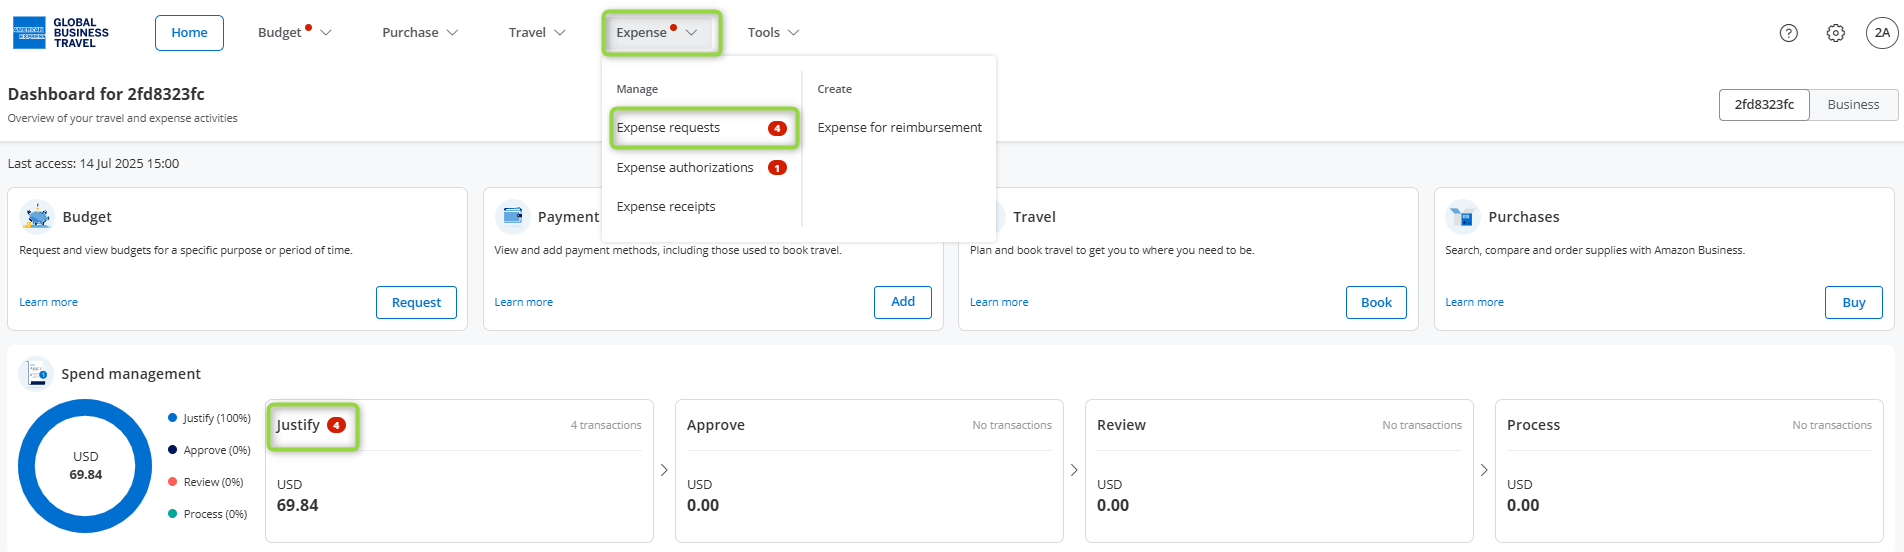
Step 2: Your Spend or, 'Justify' queue will list all transactions ready to be reconciled - You've spent the money, now you will justify why.
This queue will display all transactions that were manually entered by you. Transactions are displayed in date order. Use this screen to mirror or match against your card statement.
Ask yourself - Have you manually entered all transactions as they appear on your card statement?
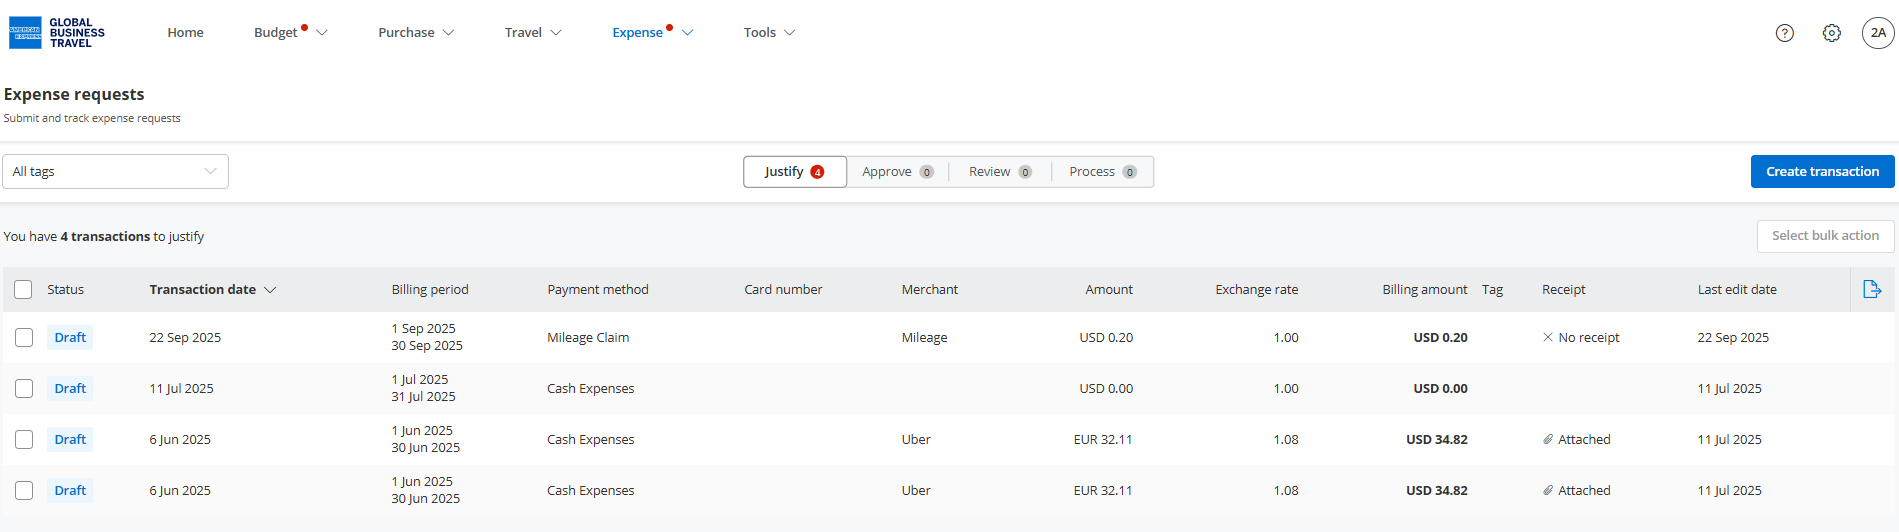
Step 3: Select Create transaction in the top right hand corner

Step 5: Choose the type of transaction you are creating (if presented)
- Are you creating an out of pocket expense? (paid for via your personal card/cash).
- Or, are you entering a mileage claim?

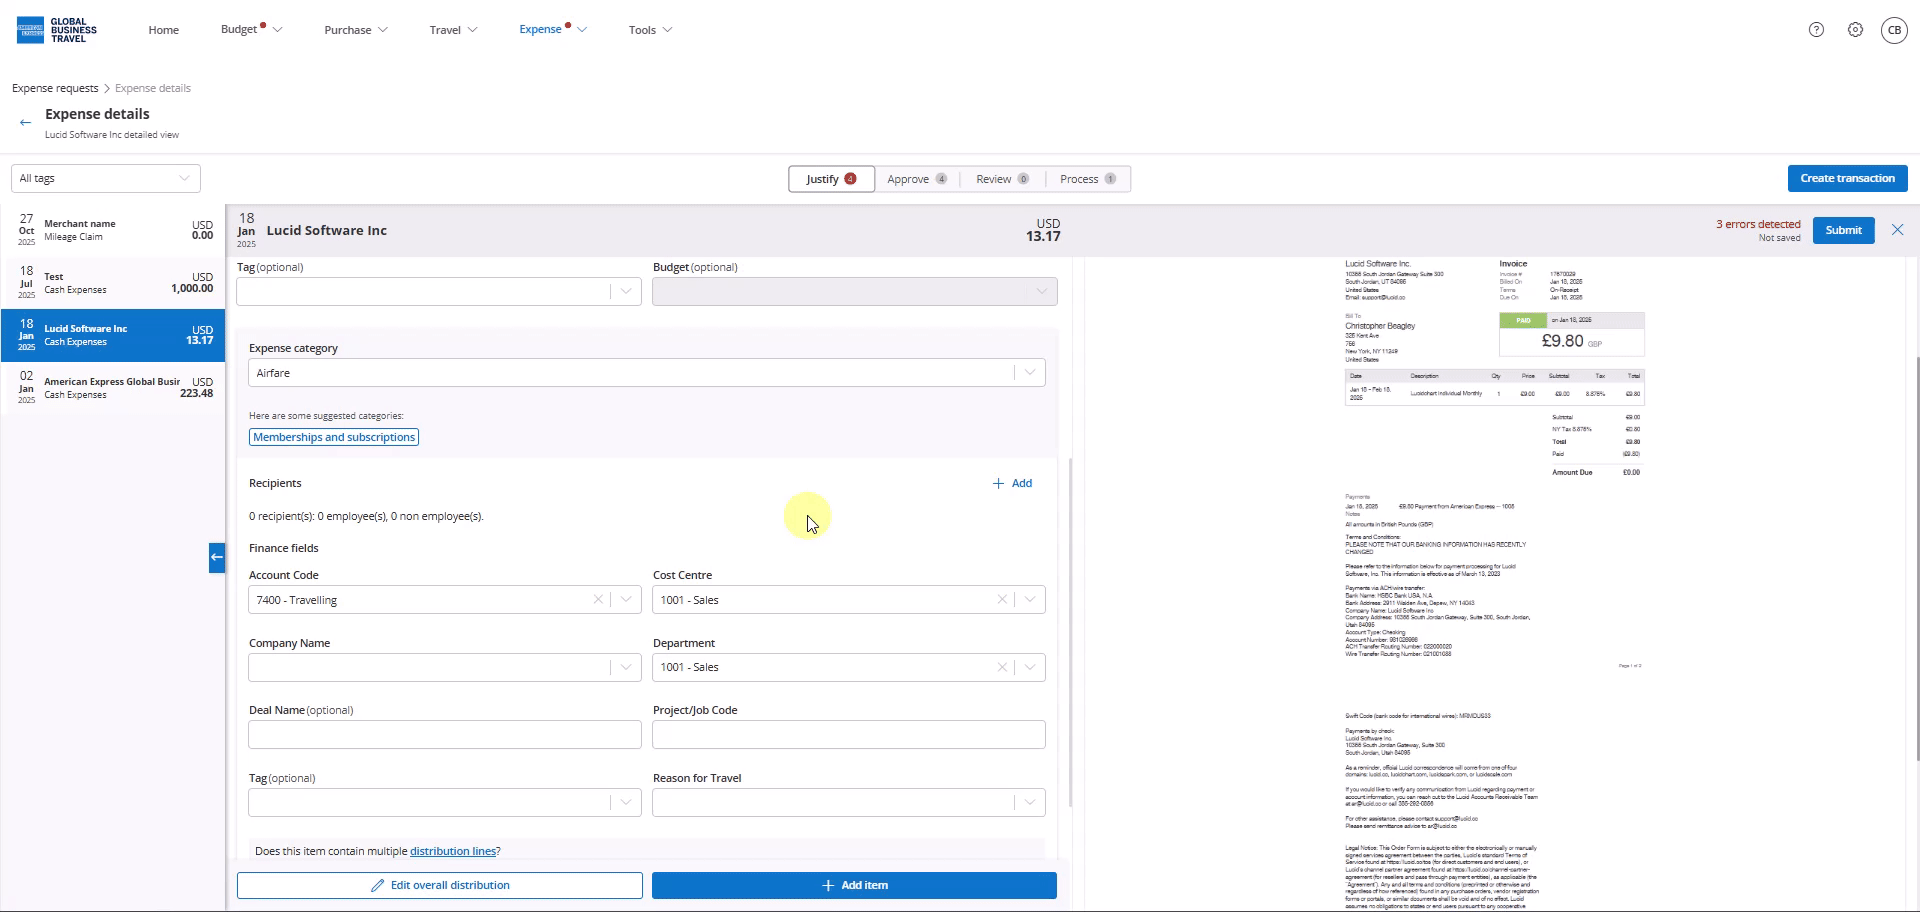
A new window will appear, where we've merged three views together onto one screen.
- On the left, a list of all unfiled transactions
- In the middle, the details for the transaction you are actively managing
- On the right, the receipt for that transaction

Step 6: Next, attach the receipt - upload from your computer or select a receipt you've captured from your Amex GBT's spend platform mobile app
Tip: Upload a receipt as your first step - Amex GBT's spend platform has OCR (optical character recognition), and will auto populate details from the receipt (date, amount, merchant, etc). The receipt is a mandated field and requires a selection from one of 4 options
- An expense cannot be submitted without one of these options being selected.
- Check with your Company policy for lost receipts or if they require the physical receipts to be sent to accounting.

Step 7: To reconcile, complete the fields in the middle screen:
- Select the Group for the transactions (if relevant - refer to this article on how to use groups)
- Select the Budget (if relevant - refer to this article on how to create and manage budgets)
- Select the Expense Type
- Complete all remaining fields - each company configuration will vary (examples of remaining fields might be: department, project name, Client name, if the transaction is billable etc.)
- If recipients are required for the selected expense type, then you click Add and select an existing recipient or create a new one.
- If recipients are required for the selected expense type, then you click Add and select an existing recipient or create a new one.
Step 8: Finally, save and submit the transaction.
A few items to note...
- Submitted transactions auto route to your Supervisor for review and approval.
- There is no concept of an 'expense report' in Amex GBT's spend platform. Transactions should be reviewed and submitted one-by-one or by selecting all and choosing bulk submit (similar to downloading and reconciling your card statement prior to the statement close period).
- Check with your company - how often do they want transactions submitted to Supervisors? Daily? weekly? monthly? etc.
Keeping track of your expenses
See where your transactions are at in any stage of the process, via the home page dashboard (spend timeline view).

Or, at the top menu bar within the spend queue screen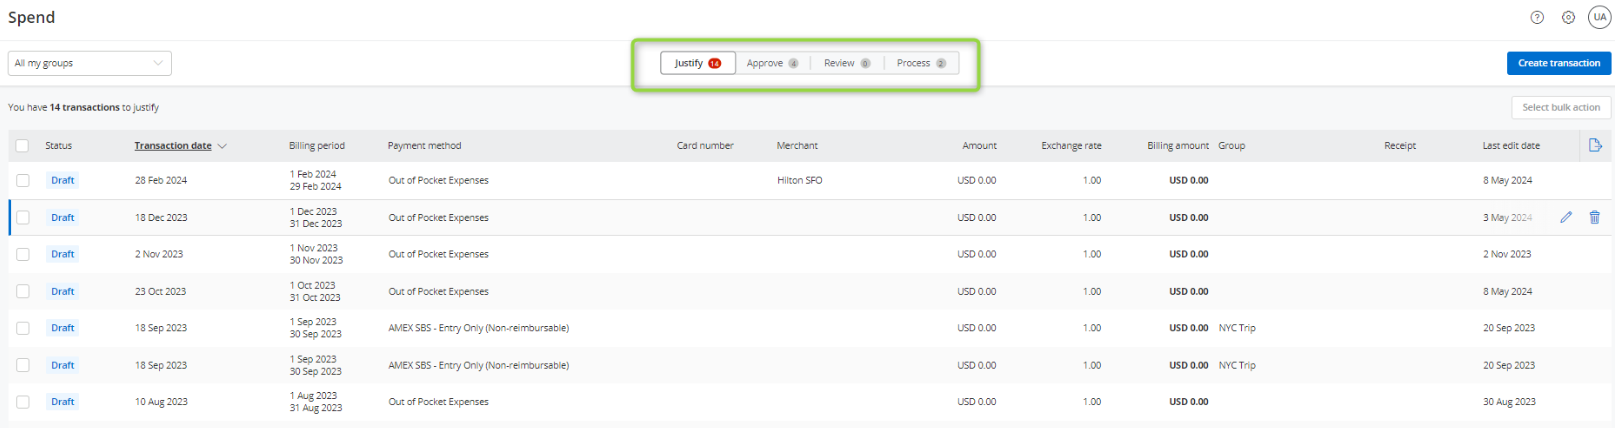
Once a transaction is fully processed, it will be extracted and no longer appear in the spend timeline view.
Extracted transactions can be pulled into a spend report.

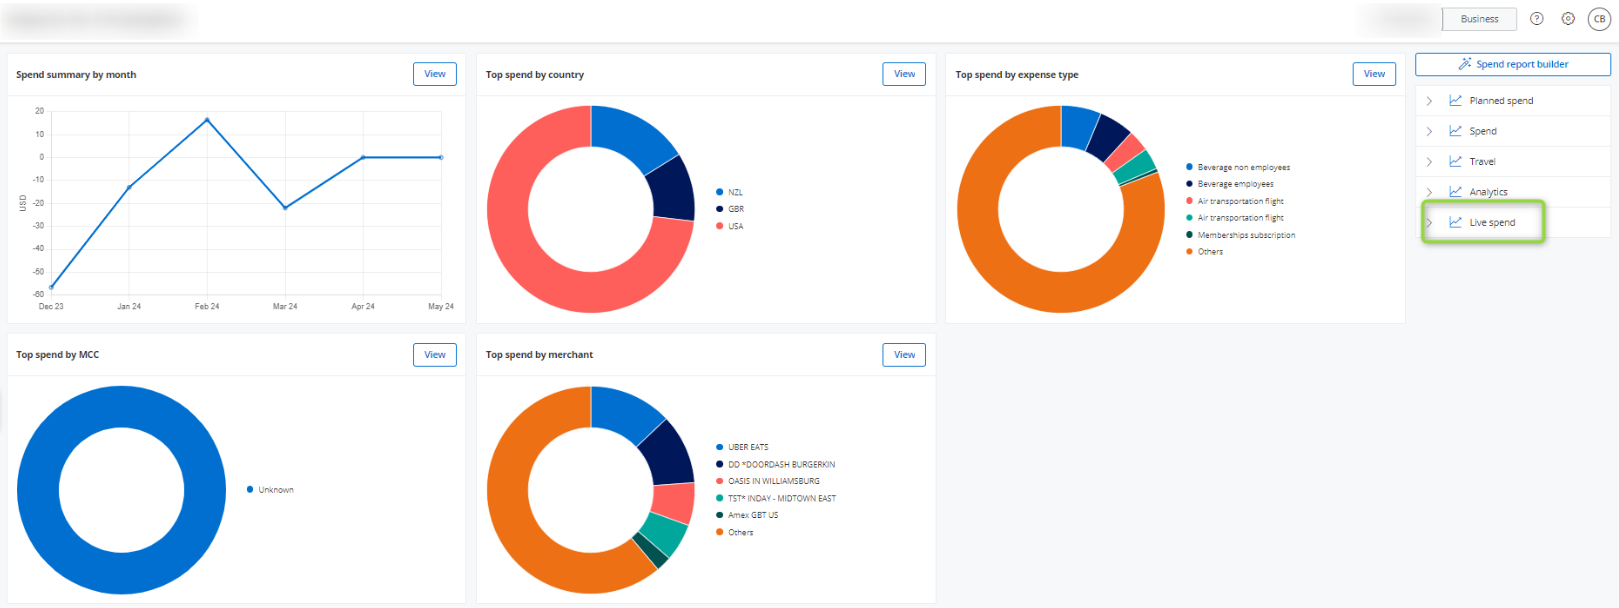
Transactions still sitting at any stage of the spend timeline (Justify, Approve, Review & Process) will only be available in the 'live spend' report.