
 Audience: Admin
 Keeping your users' data accurate and up to date is essential for ensuring a smooth platform experience and maintaining business compliance. Once users are created, you can manage and update their profile information by accessing the various tabs within their user profile.
Edit and manage user profiles
Edit and manage user profile manually
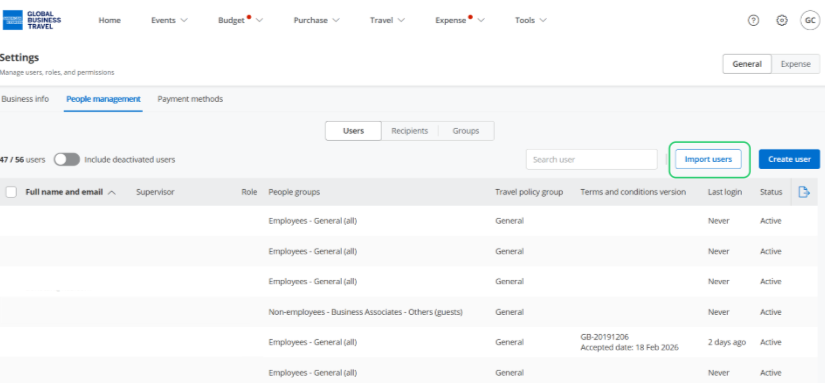
Click Settings, then select 'People management' in the General section.

Select the pencil icon on the right hand side.

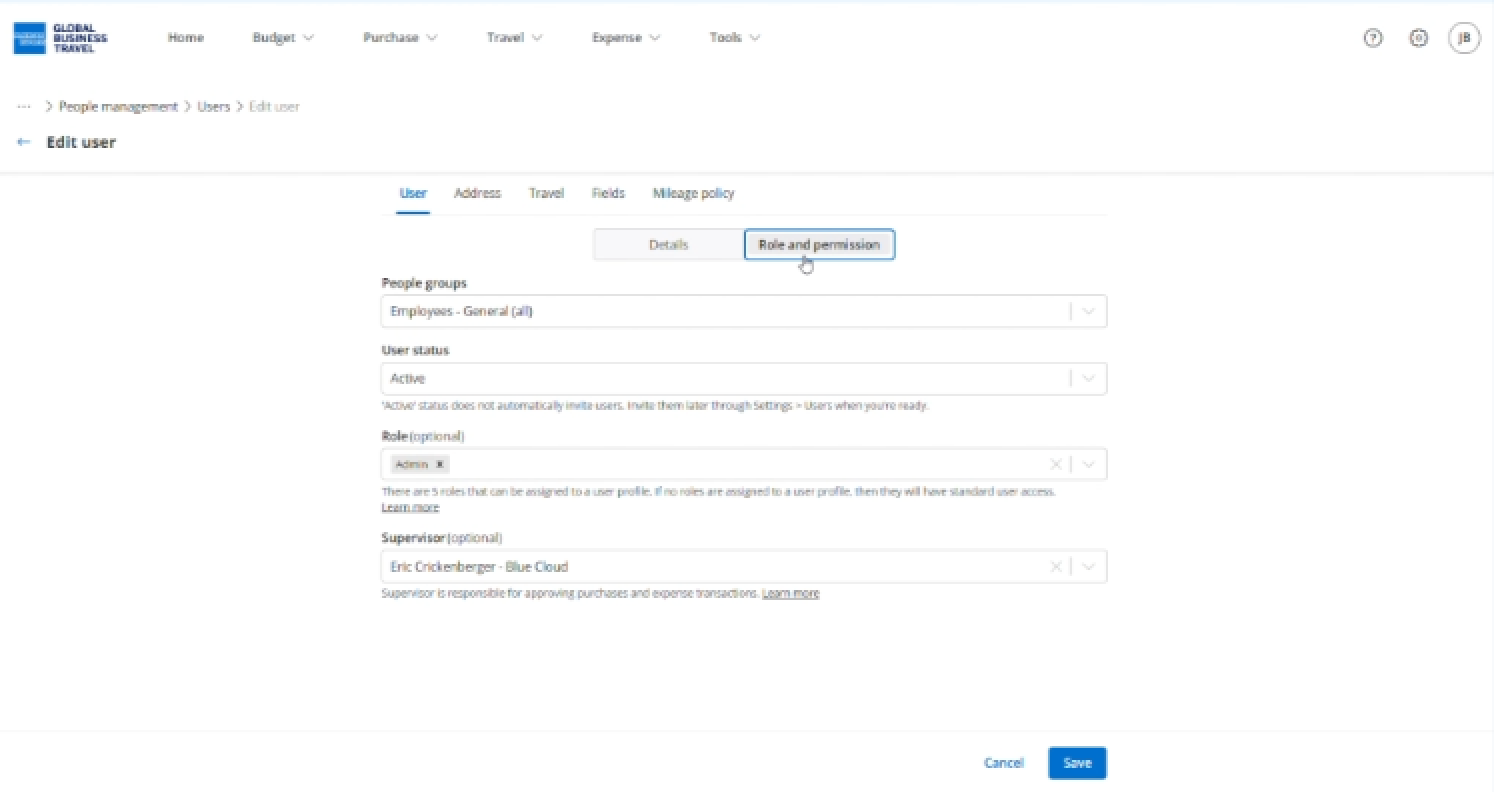
You can edit account details, roles, and permissions.
Click 'Address', you can add an address for the user.

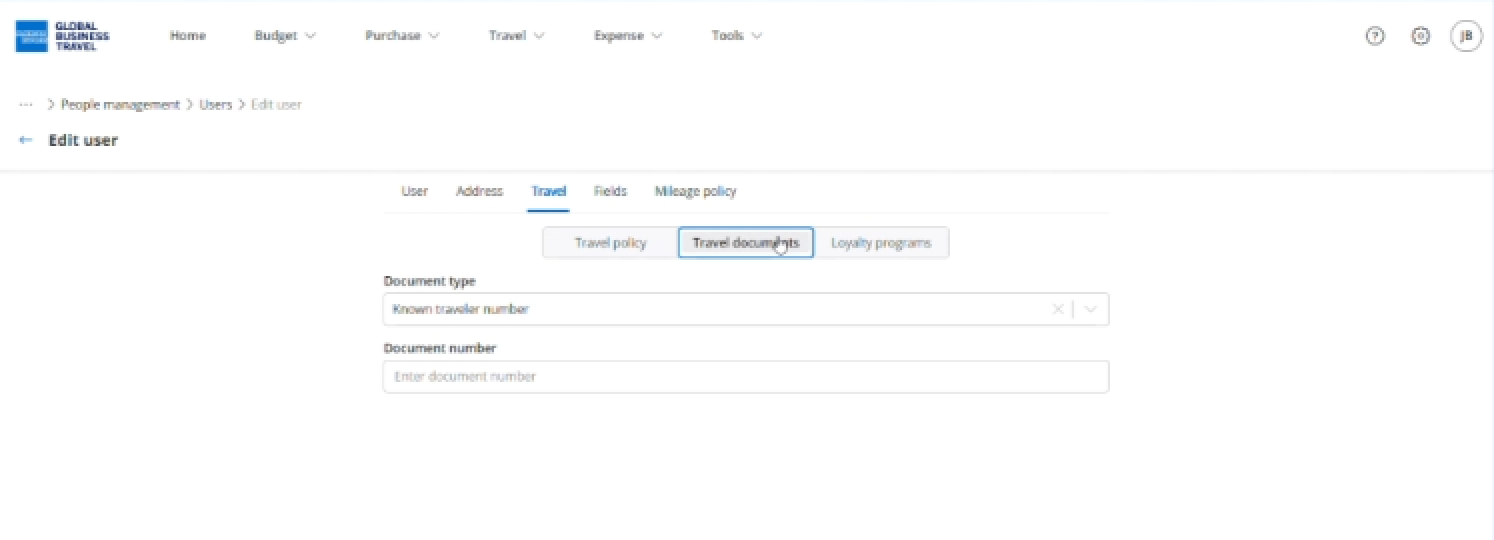
Click 'Travel', and select the policy that applies to this user.

Enter travel documents details.
Add loyalty programs for this user.

Click 'Fields' to view the custom fields your company has set up and choose the appropriate values for this user.

Click 'Mileage policy' and select the mileage policy for this user. You can add a display name that the user will see.

Edit and manage user profile by user the user import option
Export your existing users by clicking settings, the select 'People management' in the General section then click 'Import users'.
Click 'Download the template' then select 'Template with existing users'.

Open the export file from your downloads, and update the users details you need to. Save your file.

Upload your file then click 'Confirm'.

 Tip: When using for expenses, you will note that Default Coding is an available field for user profiles. Utilizing this feature allows you to choose which Accounting Segments should be defaulted for this specific user.
Tip: When deactivating a user, be advised that this will cancel the virtual Card issued through the platform (if applicable)
Read the next article: What roles can be assigned to a user?